Want to know how to take photos of your kitchen just like the professionals? Taking great pictures of a kitchen (or anywhere else) goes beyond clicking your camera. It requires attention to detail, proper lighting, and composition.
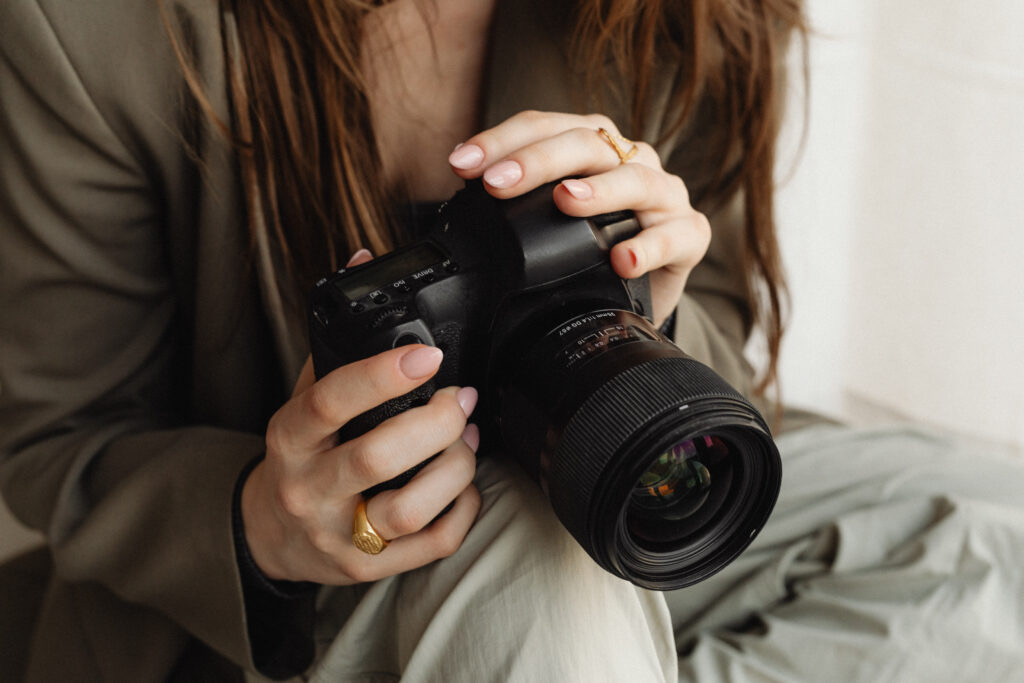
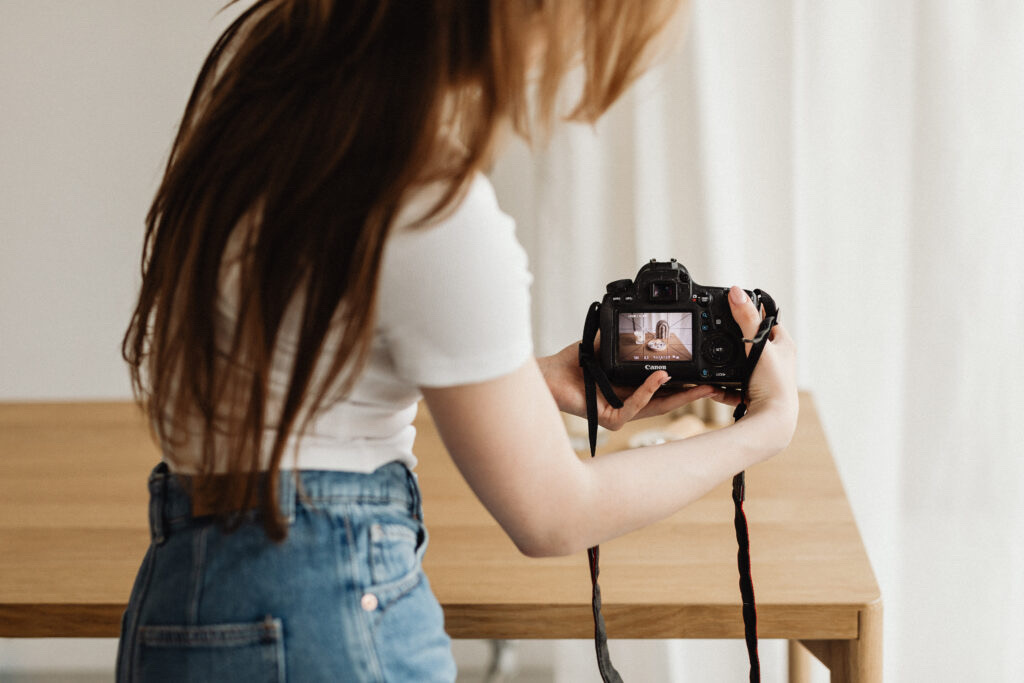
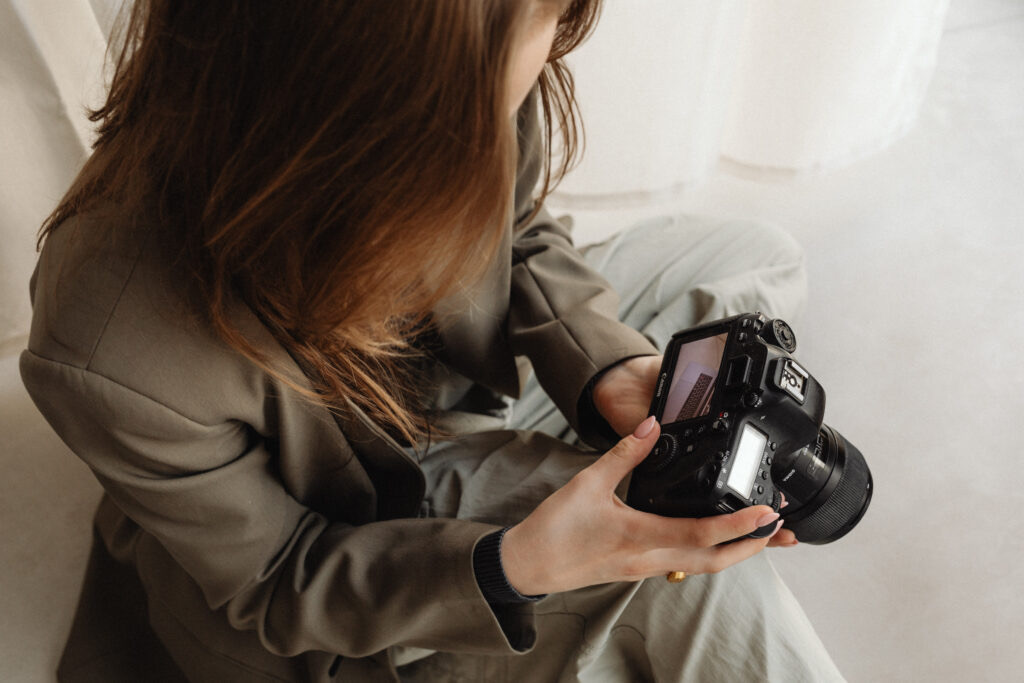
The Camera: Using an iPhone or DSLR
Our tips work if you are using an iPhone or a DSLR camera. If you are new to photography an iPhone camera or DSLR on automatic are great starting points. If you want to step your photos up a notch, try learning how to shoot a DSLR in manual.
10 Tips for Taking Photos of Your Kitchen
Here are some tips to help you capture professional-looking images:
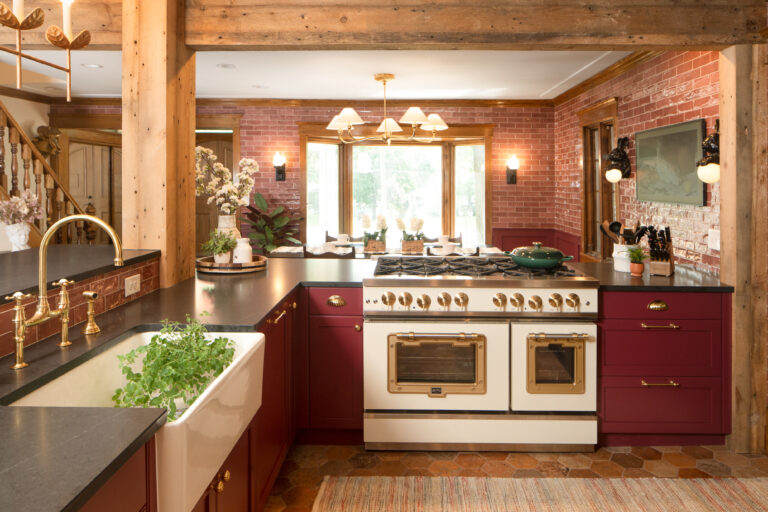
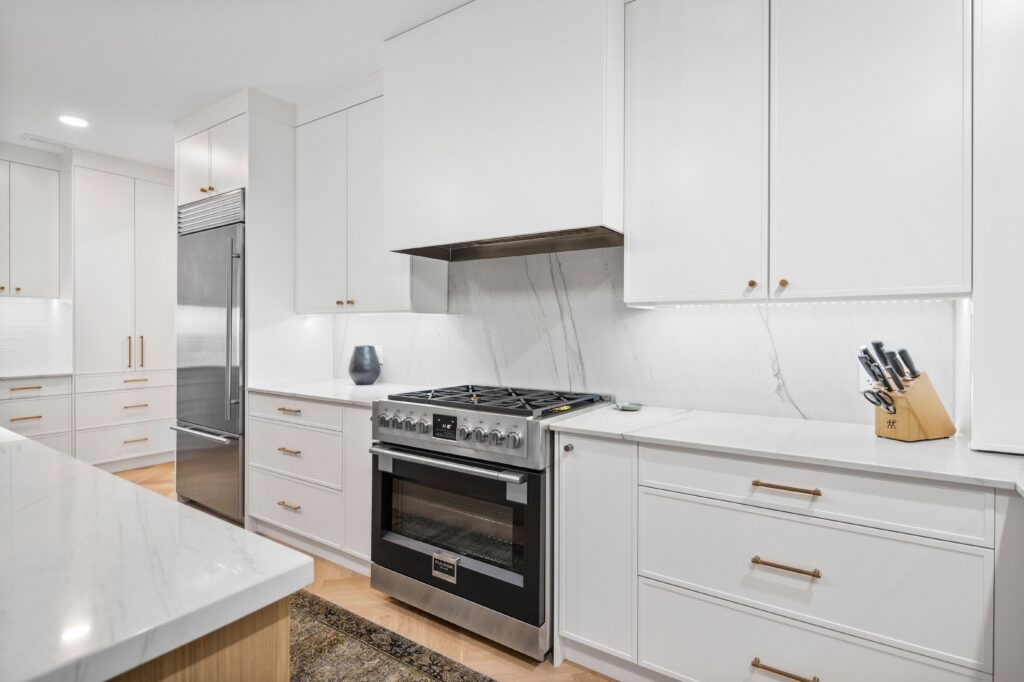
1. Clean and Declutter
Before you start shooting, make sure the kitchen is clean and well-organized. Remove any unnecessary items or clutter that might distract from the main focus. Choose a few well-chosen items such as an abstract piece of art, a vase, or fresh flowers when staging.
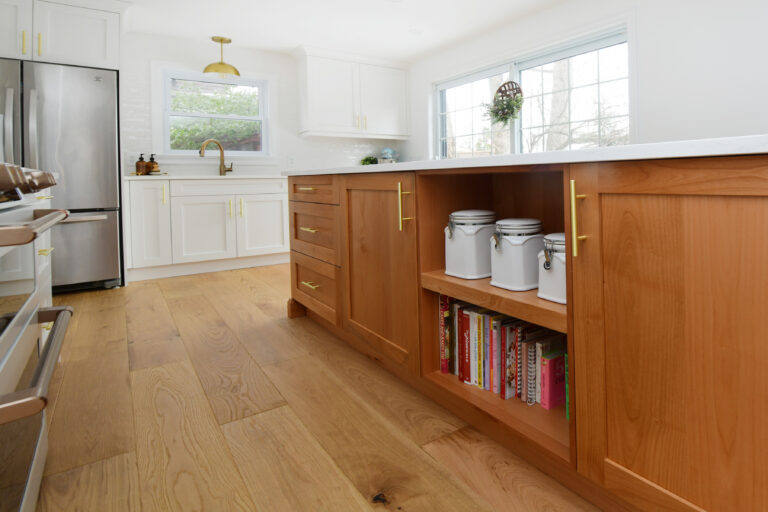
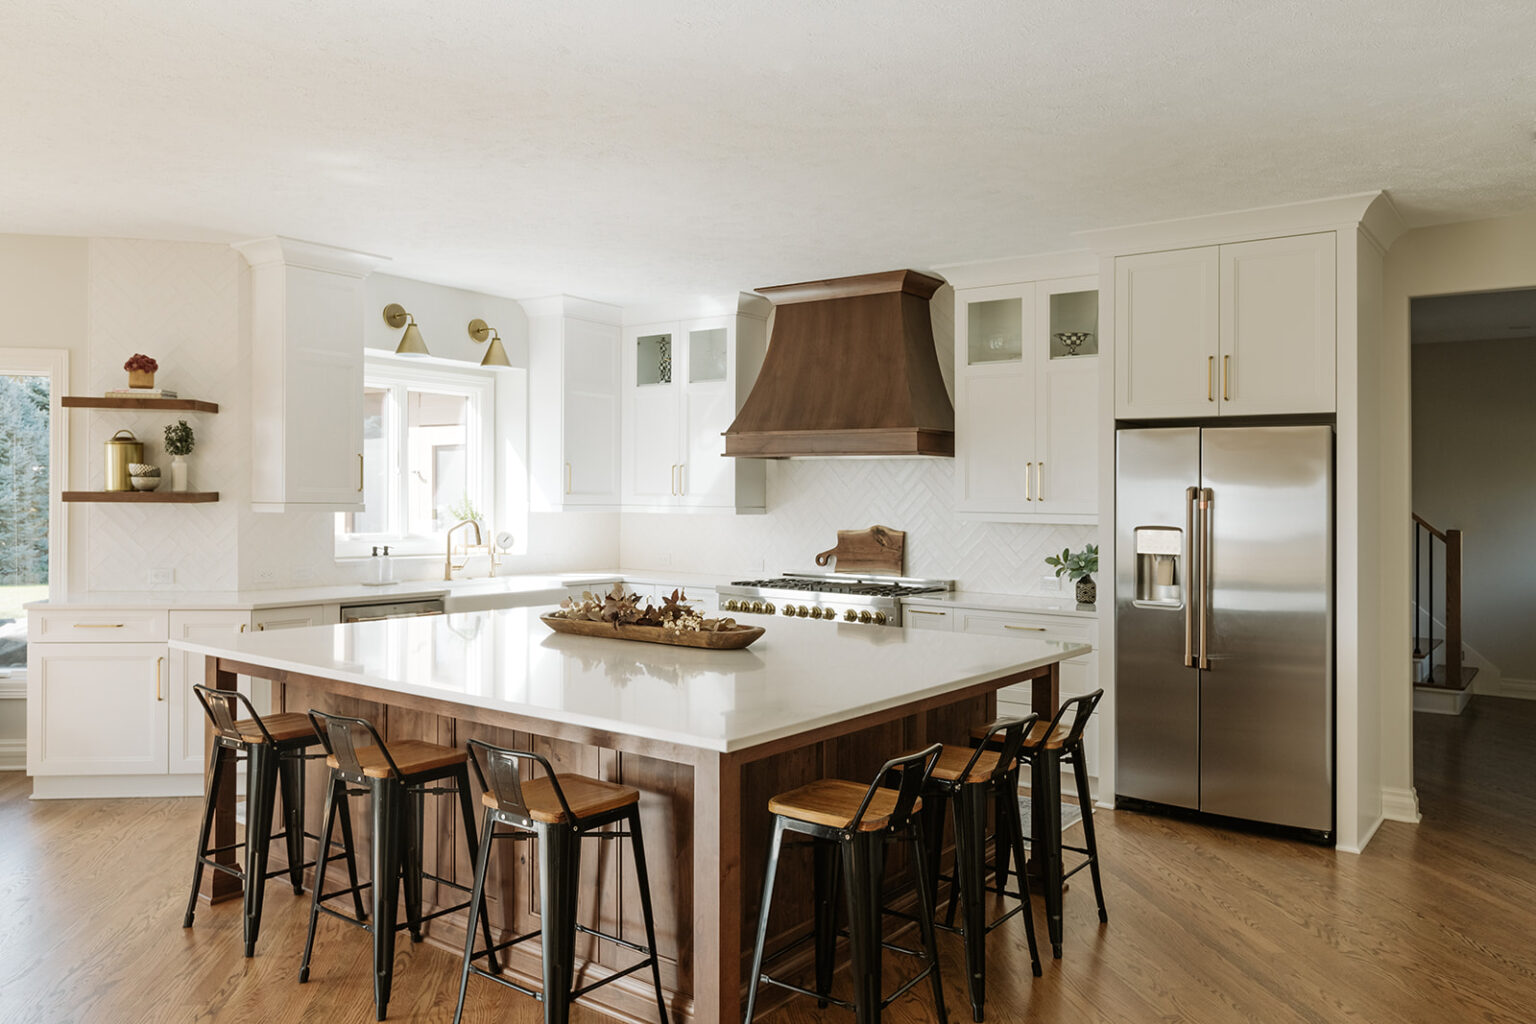
2. Choose the Right Angle
Find the best angle to showcase the kitchen. Shooting horizontally from the kitchen island can provide a dynamic perspective, giving viewers a comprehensive view of the space. This angle often captures countertops, appliances, and design elements in a visually appealing way.
Ensure that your camera is level and avoid tilting it either up or down. Keeping the camera straight maintains the lines in the frame and prevents distortion, contributing to a balanced composition. Distorted lines can be distracting and may not accurately represent the kitchen’s layout.
Experiment with different angles to capture the kitchen’s beauty from various perspectives. Shooting from a corner or slightly off-center can add depth to the image, showcasing the layout and features effectively.
*Remember that horizontal photographs are often preferred for showcasing kitchens. They provide a natural and expansive view, allowing viewers to appreciate the entire kitchen space. Horizontal shots can convey a sense of openness and highlight design elements well.
3. Use a Tripod
A stable camera is essential for sharp images. A tripod helps eliminate camera shake, allowing you to use longer exposure times if needed. This is especially important in lower light situations. Here are some recommendations for camera tripods and iPhone tripods.
4. Natural Lighting
Whenever possible, use natural light. Plenty of light is essential for a great image. Position yourself so that the light falls onto the kitchen, avoiding harsh shadows. Early morning or late afternoon often provides soft, flattering light.
5. White Balance
Ensure accurate color representation by setting the white balance according to the lighting conditions. This can be adjusted manually or set to an appropriate preset on your camera.
6. Aperture and Depth of Field
Choose a moderate aperture (f/4 to f/8) to ensure a deep depth of field. This will keep both close and distant elements in focus, showcasing the entire kitchen. When using a DSLR this will be set for you in automatic shooting mode, use manual mode to adjust yourself. If you are using an iPhone you can test using different shooting modes like panoramic, cinematic, or portrait mode.
7. Composition
Pay attention to composition. Use leading lines, such as countertops or cabinets, to guide the viewer’s eye through the image. Consider the rule of thirds for a balanced composition.
8. Details and Close-ups
Capture the small details that make the kitchen unique. Close-up shots of stylish utensils, fresh ingredients, or unique textures can add interest to your photo set.
9. Post-Processing
Use photo editing software such as Lightroom or Photoshop to enhance your images. Adjust brightness, contrast, and color balance if needed. Be careful not to over-edit, aiming for a natural, well-lit look.
10. Exporting Your Photos
Once the photos are edited, you need to export them from your editing software. Some programs have pre-made settings for print or digital use or sliders for high to low resolution. There are guides online with setting recommendations for different platforms and mediums (for where you will use the photos). As a rule, we recommend exporting high resolution JPEG or PNG images.