Staring at kitchen cabinets that need a kitchen drawer adjustment can get annoying. We all have days when we look at our kitchen and see that all our drawers and cabinet doors are misaligned and the whole thing just looks crooked.
Don’t blame the installer. Even though your kitchen is already a few years old, all it needs is an adjustment.
There are certain things you need to know to successfully make drawer adjustments, replace drawer fronts, or sometimes even replace the entire drawer.
A drawer or cabinet adjustment isn’t all that hard, and anyone can do it. Let’s go over what you need to know.
Everything About Drawer Fronts
Should You Change Your Drawer Fronts?
The drawer pulls, and fronts can be changed from the old drawer front by simply removing the old one from the drawer front and screwing the new one in place. Changing old drawer fronts to new ones is also not very complicated and could not only enhance the quality of your kitchen but could also raise the value of your home.
How to Remove and Reattach the Front of a Kitchen Drawer?
In order to adjust the cabinet drawer, you must remove the front. It requires the removal of firmly attached screws from drawers.
Be careful not to twist the screws the wrong way, no matter if your drawer fronts are oak or maple, or any other material. Tightening a screw instead of loosening them by accident causes damage instead of adjusting them.
Resetting drawers with screwdrivers is easy, but depending on your settings, you could have either nicely aligned kitchen cabinets or, in the worst-case scenario, some crooked-looking drawers that would need to be readjusted.
To check if your drawers need readjusting, simply take a step back and look at how they align with the rest of your kitchen.
Kitchen Drawer Adjustment Tool Recommendations
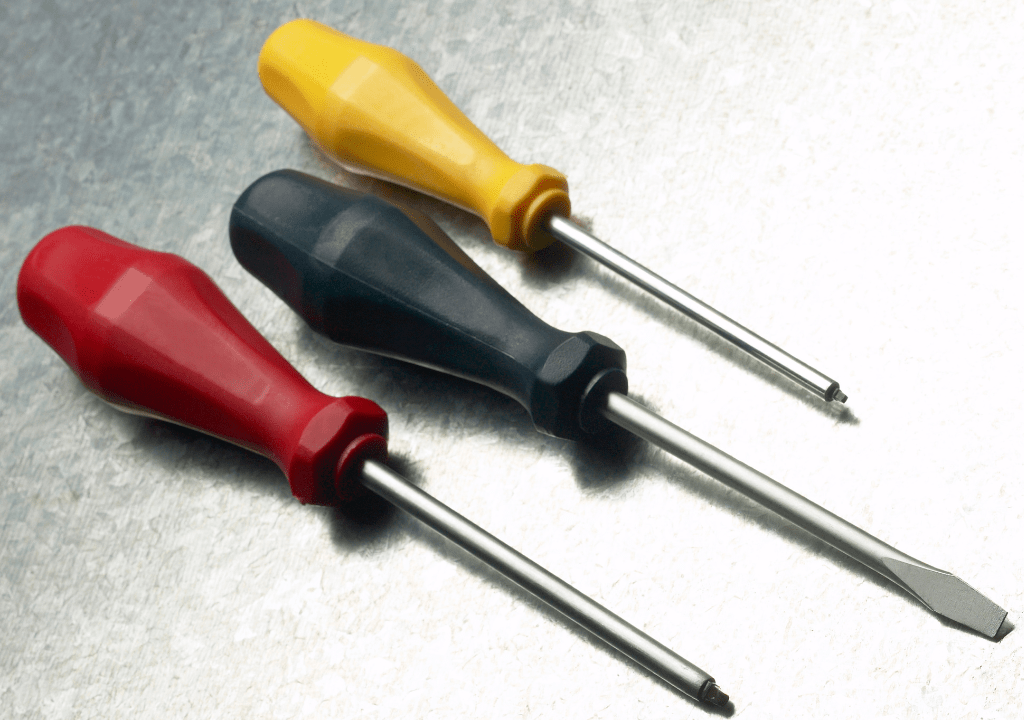
We recommend using a screwdriver instead of an electric drill. The electric drill is much more powerful than your hand, so using the screwdriver will have much less of a chance of over-torquing.
The Little Details on Cabinet Drawer Fronts
Metal disks connecting drawer fronts to the drawer box control the left & right and up & down adjustments of the drawer front. Metal disks are mounted to the front of the drawer box; then the drawer front is mounted to the disks. If ordered and installed at a later time, there are two types of disks: one for a 5/8-inch box and one for a 3/4-inch box.
The Handle
The middle-mounted handle will affect drawer front adjustments due to going through the front panel and drawer box panel. The handle is to stop everything from moving once the adjustments have been made.
If the handle is top-mounted (where the screws won’t go through the front and the box), the front may still move about over time. Pre-drill holes in the box front in an out-of-the-way space so that once the adjustments are finalized, two screws can be used to hold the drawer front in place.
Painted Cabinet Drawer Fronts
Be particularly aware of how much surface area the handles have with painted drawer fronts. Don’t over-tighten or else the paint may chip and peel away, or the screws could lose their grip on the wooden front surface.
What Screws to Use to Attach Drawer Fronts?
Use 1″x 1 1/2″ screws. Keep your 5-piece cabinet in good condition. Keep your screw inside your drawer and never pass through the floating surface.
Hinge Adjustments
Every cabinet comes equipped with a 3-way adjustable hinge. Over time, the doors may no longer be perfectly aligned. However, this is an easy fix.
Standard Hinges:
Remove the cap to gain access to the screws for the depth and horizontal adjustments. The screws above and below the hinge are for vertical adjustments.
Vertical adjustments have a plus/minus range of 3 mm. Horizontal adjustments have a plus/minus range of 2 mm. Depth adjustments have a minus 2 mm adjustment and a plus 3 mm adjustment.

Corner Hinges:
In a similar fashion, the corner cabinet hinges are able to be adjusted in three ways. The vertical, horizontal, and depth adjustment ranges are the same for the corner hinges as they are for the standard hinges.
Additionally, the corner hinge connecting the two panels are also able to be adjusted.
Drawer Clips
Please note that drawer clips are already positioned at the drawer side for transport considerations. They clip onto your drawer rails. Make sure the drawer is clipped in properly to ensure your drawer glides smoothly without falling out of place.
Drawer Box with 3 Walls
Often, a drawer box has three walls, and the drawer fronts form the fourth wall. However, there are still many kitchens with four wall drawer boxes. The construction of these two are very different. Changing the old drawer front with new drawer fronts is going to involve a slightly different location of the screws
So, how you take your four-wall drawer box apart and how you put it back together is somewhat different than that of the drawer box with three walls.
Final Thoughts
As you see, taking off a drawer front from a drawer box or simply readjusting your drawers is not as hard or complicated as it seems at first. After you’ve done your first adjustment, the second and on will be a cinch.


