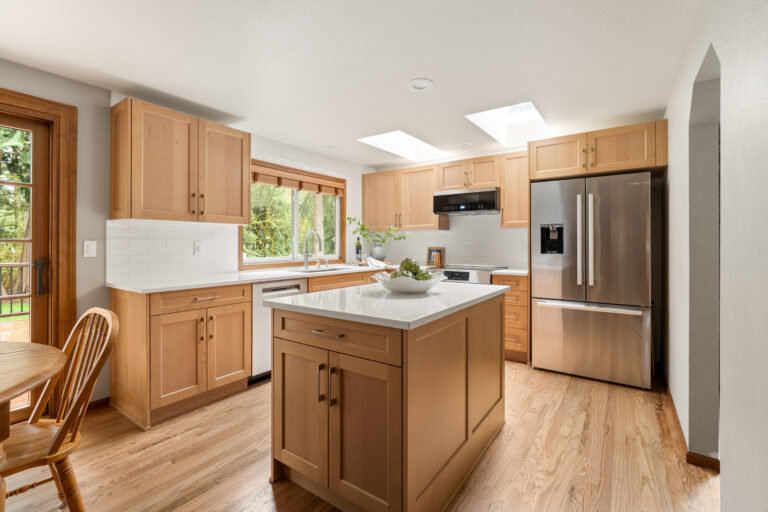
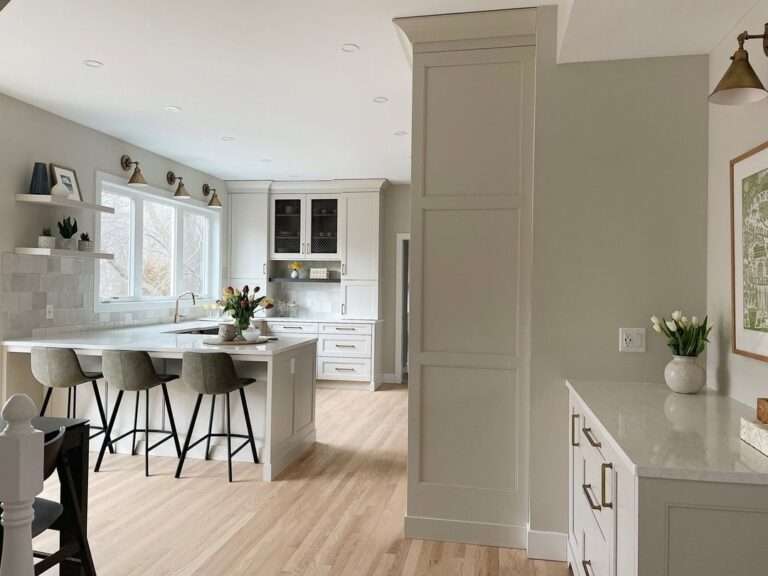
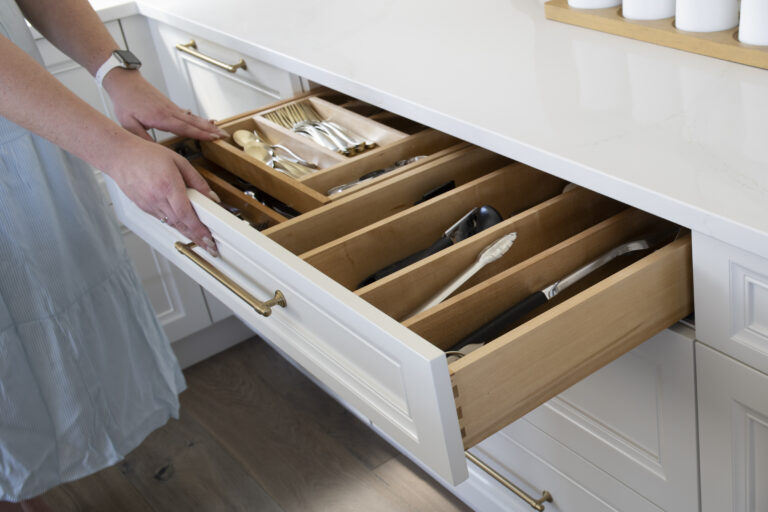
In this post, we’ll walk you through the steps for installing custom kitchen cabinets so you can understand what to expect and why professional installation makes all the difference. This is not a complete guide but an excellent overview of the process. Keep reading if you ever wonder, “How are custom kitchen cabinets installed?”
Step by Step: How are custom kitchen cabinets installed?
Here are the steps to installing custom kitchen cabinets. Custom cabinets are not the same as RTA (ready to assemble) cabinets, but leveling and fixing the cabinets to the wall is an involved process for the best result.
- Preparation
- Determine the Base Cabinet Measurement
- Installing the Base Cabinet
- Install Fillers and Filler Overlay Set
- Install End Panels
- Install Columns and Filler Panels
- Install Toe Kick
- Install Countertop
- Determine the Wall Cabinet Measurement
- Install the Wall Cabinets
- Install Fillers and Filler Overlay Sets
- Install End Panels, Columns, and Filler Panels
- Install Moldings
- Install Cabinet Fronts
- Final Walkthrough
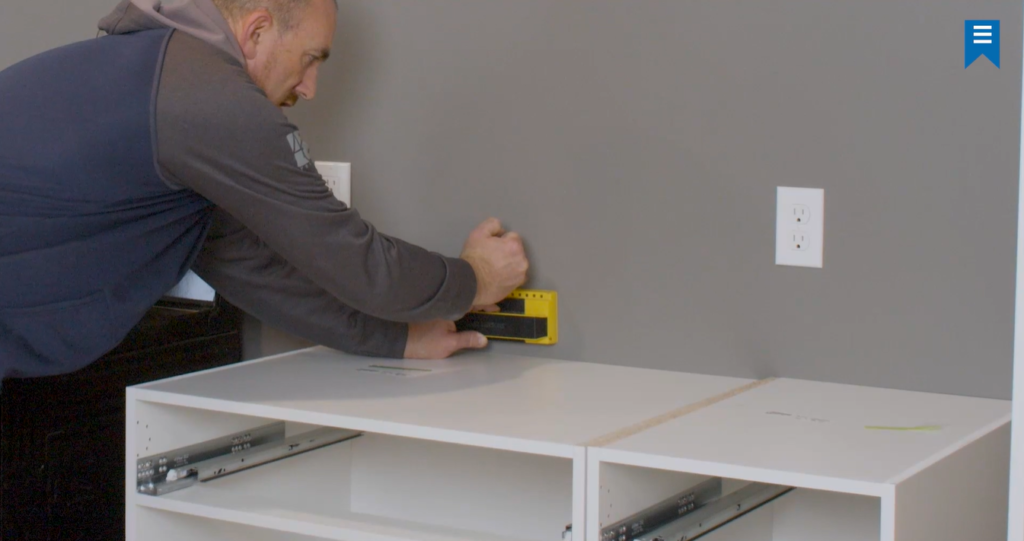
How are you installing your custom cabinets?
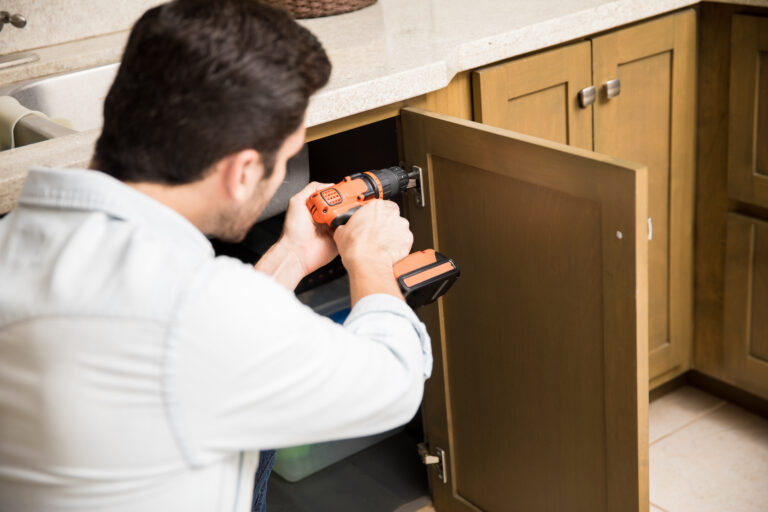
If you purchased your cabinets from a design center, you will probably arrange professional installation. But if you are purchasing elsewhere and plan to install them yourself, our quick guide will give you an idea of the steps to take.
Cabinets Installed by Professionals
- Expertise ensures a flawless install.
- Faster, saving time and reducing disruption.
- Installation often includes a warranty for added peace of mind.
- Professionals handle heavy lifting and tools safely.
DIY Installation
- Potential cost savings by avoiding labor fees.
- Flexibility to work on your schedule.
- Personal satisfaction and pride in completing the project yourself.
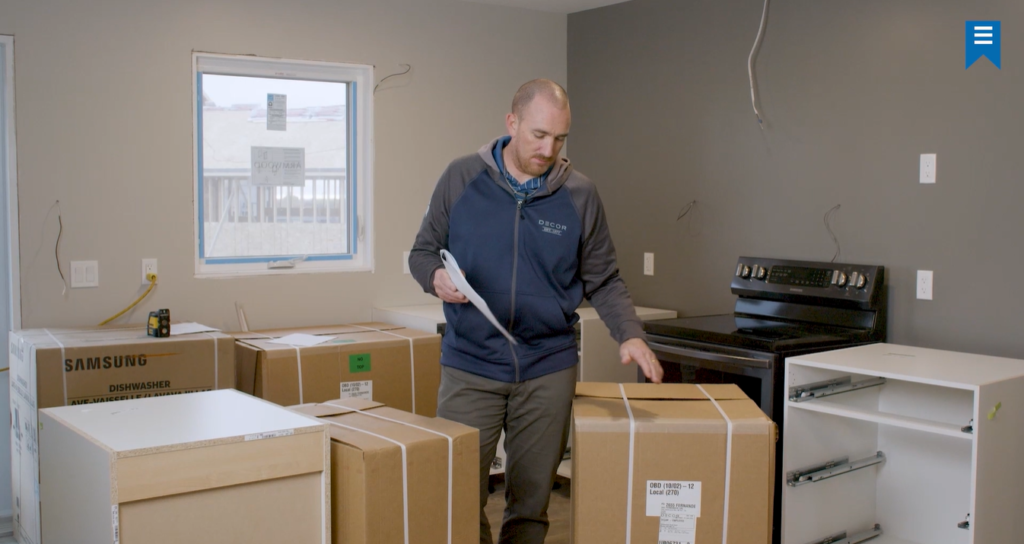
Cabinet Install Preparation
When the cabinets arrive, make sure you have all your packages and that the order is complete. If parts are missing or damaged, contact your designer.
Check measurements and make sure everything matches the elevations and floor plans. Gather your tools and get ready to install!
Kitchen Cabinet Installation Tip
Arrange the cabinets in the space in order, ready for installation. Lie the cabinet box with the label side up, unbox, and remove all the drawers and fronts from the cabinet.
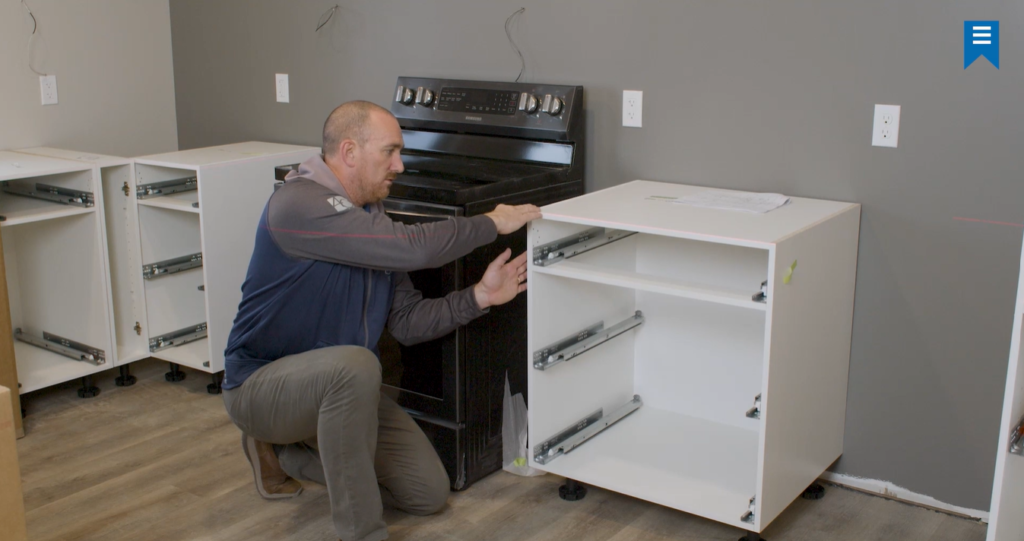
Installing the Base Kitchen Cabinets
This step involves finding the high point on the floor and measuring where the top of the cabinets should be. Install always starts with the corner cabinet. After the cabinets are level and attached to the wall, the fillers and filler overlay sets, end panels, and toe kick are installed to give the base cabinets a finished look.
Kitchen Cabinet Installation Tip
Using a laser level is extremely helpful to ensure every base cabinet is even and level to the same height.
Installing the Countertops
Once the base and appropriate tall cabinets are installed, the countertop is the next step in your custom kitchen.
Kitchen Cabinet Installation Tip
Double-check that the cabinets are level; the countertop will also be uneven if the cabinets are not level.
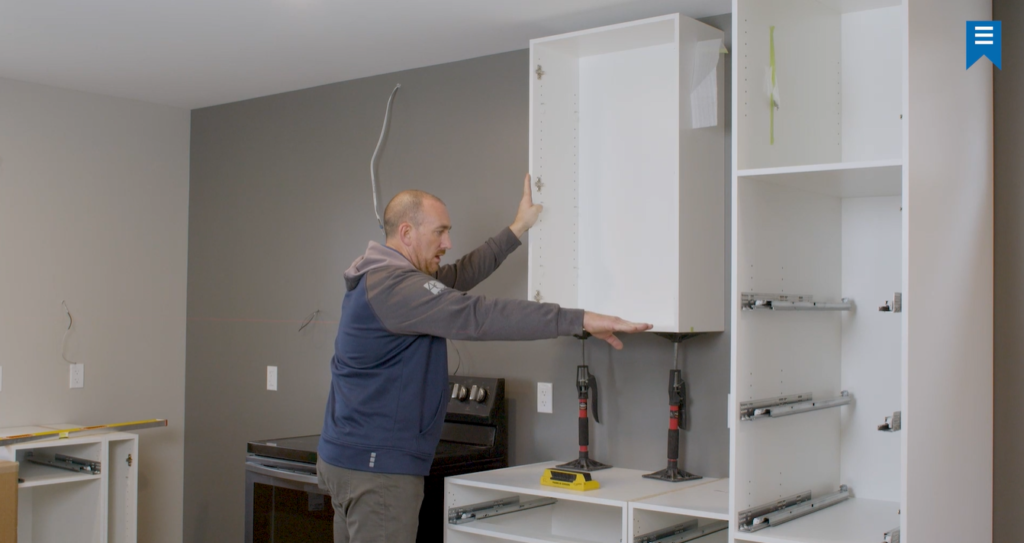
Installing the Wall Kitchen Cabinets
Again, start with the corner cabinet and work your way out. Ensure everything is level and plumb. Ensure everything is level now, so you can save time later with front adjustments. Secure the cabinets to the wall, screwing through the hanger rail and into wall studs using a coarse thread screw.
Again once all the wall cabinets are installed, the fillers, filler overlay sets, end panels, and columns can be installed.
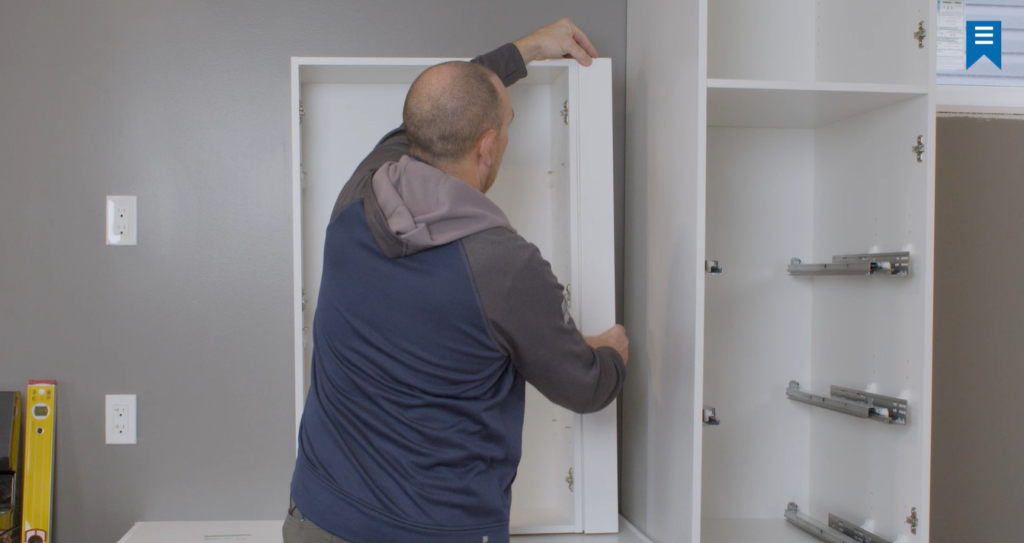
Kitchen Cabinet Installation Tip
Make sure each of the upper wall cabinets is level to the same height, checking the elevations to determine the placement for the bottom of the wall cabinet. Mark the wall if you need to!
Install Cabinet Fronts and Drawers
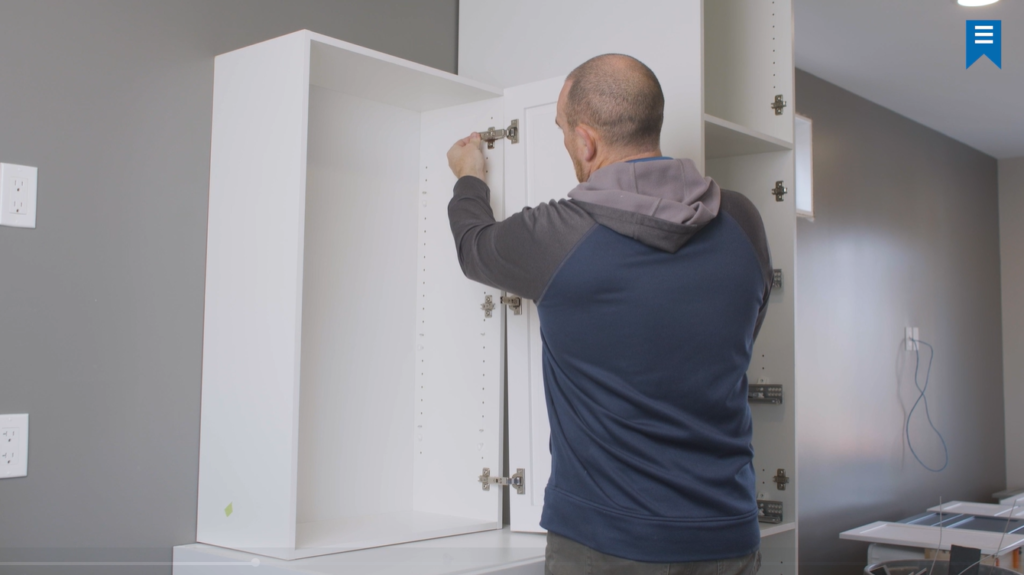
Time to clean the cabinet and attach the doors and drawers! Install any hardware or pulls as required.
Kitchen Cabinet Installation Tip
Make sure there is a consistent gap/spacing between doors and fronts.
Final Walkthrough
Are all the custom kitchen cabinets installed? Clean up any debris from installation. Do a walkthrough and document any damages or touch-ups that will be needed. All that is left to do is enjoy your new custom kitchen!


