inspire. design. enjoy.
Preparing for Your
New Kitchen Cabinets
A guide for renovation prep, what to expect on installation day, and how your warranty works once they’re in place, so you can feel prepared to receive your new kitchen cabinets.Â
Before Your Cabinets Are Delivered
Preparing for your renovation is going to make living through the process easier and help the installation team do their best job.Â
Before installation day, all cabinetry, contents, and appliances need to be cleared from the work area and moved to another room. Make sure you and your designer are aligned on who handles removing the old cabinets. Packing up your personal items is on you, and we have a few tips to make that easier:Â
- Pack well before demo day, not the night before.Â
- Declutter what you don’t want to move into your new cabinets.Â
- Set aside daily essentials in a separate box you can access easily.Â
- Label boxes by content or destination, not where they came from.Â
We suggest that while your kitchen is being renovated, you consider a location in your home to set up a temporary kitchen or eating area – somewhere you can utilize a microwave, toaster, dishes/cutlery etc. Having some frozen meals on hand to heat up can help on a busy evening and save on take out, but budget to have a few days where you’ll want to eat outside of your home – just in case.Â
Here are some renovation components that should be taken care of before your new kitchen cabinets are installed. If you are working with a custom kitchen designer, they will let you know what is included in their service and what is up to you.Â
Paint Â
If you are planning to repaint walls, we recommend doing it prior to the new cabinets. Painting around your new cabinetry is not ideal, and you risk damaging the finish.Â
FlooringÂ
Hardwood and tile should go in before your cabinetry, including under the base cabinets and island. Floating and laminate flooring should wait until after the cabinets. Either way, a consultation with your flooring specialist beforehand is a good idea. Â
Toe KickÂ
If the flooring is not in place prior to cabinet installation, you can install the toe kick precut to size for you to reinstall once the flooring is done, or schedule a service date after the flooring install to have the toe kick put in for you.Â
Appliances & SinksÂ
Sinks, faucets, and cooktops are required on-site during the installation process for countertop cutouts. Please remember to move all appliances and fixtures outside the work area prior to our team’s arrival.Â
Plumbing & ElectricalÂ
Before installers arrive, all plumbing must be disconnected and capped off. Any electrical disconnection must also be completed (dishwasher, built-in ovens, hood vent, switches relocated, etc.) before cabinets arrive.Â
Before your installers arrive, clear the path to the kitchen. It’s worth having a quick conversation ahead of time about dust containment, where contractors will enter, and which areas of your home are off limits. Remember, installers will need direct access to the kitchen, the garage (when available) if the weather is undesirable, and a washroom.Â
What to Expect During the Cabinet Installation
Installers should be advised and shown where to set up their saws and tools upon arrival. If a garage is available, that is ideal. It keeps them out of the elements and allows them to leave their tools set up for the duration of the install.Â
When Your Cabinets Arrive
Cabinets will be unboxed and placed by designated work areas. The delivery team will lay down cardboard and/or foam to protect your floors. Drawer boxes will be removed and placed in the nearest available space, with fronts and additional parts. Longer trim pieces (molding, toe kick etc.) will be left boxed and leaned safely against a wall. This staging of cabinetry may temporarily take up a large area of your home.
Safety First
While it is very compelling to watch the installation happen, the work area has real hazards, including cords, saws, and power drills. For your safety, we ask that you, your children, and your pets stay out of the work area during the install.
Be Available for Decision Making
If a hidden or pre-existing condition is discovered during installation, such as bowing or dips in the ceiling or uneven floors, our installer will notify you and your designer. Your designer will walk you through the available options, and if additional costs apply, everything will be discussed so you can make an informed decision on how to proceed.
Surviving Larger Kitchen Renovations
If your renovation includes more than just cabinets, or if the job requires construction and installation crews to be on site for a while, you may want to take some time out of the house to reset and give yourself a break. Here are some tips if you or your family want to venture out:Â
- If you prefer to be home when the contractors are present, plan an outing or meal out of the house once they leave.Â
- Arrange daycare for children and pets to give them a break from the noise and provide entertainment.Â
- If needed, give the team access to a temporary lockbox or smart-lock code.
- Be available to take phone calls from your contractor or designer.Â
After Your New Kitchen Cabinets Are Installed
After your cabinets are installed, there are a few things to expect to take care of before you can relax in your new kitchen.Â
If you purchased your countertop through your designer, they will coordinate the template and install date with the fabricator. Templating typically happens on the last day of installation or the day after. Please have all sinks and faucets on site at that time. Fabrication timelines vary between 1 and 4 weeks, depending on the time of year and fabricator.Â
Once your cabinetry installation is complete, your designer will schedule a substantial completion walk-through with you. Here are some things your designer will check after your cabinets are installed:Â
- Cabinet doors are aligned and straight.Â
- Drawers open and soft-close properly.Â
- Gaps are consistent across cabinetry.Â
- All doors, drawers, and accessories from your order are accounted for.Â
- Finish color is consistent across all pieces.Â
- There are no dents or defects in the cabinet finish.Â
- Integrated lighting is working and installed cleanly.Â
If your designer is also handling other aspects of the renovation, they will check those with you as well.Â
We hope that you’ll never need to submit a warranty claim, but it might be necessary, and it is best to be prepared and know what to do. If any deficiencies are found during the final walkthrough, your designer or contractor will be in touch to arrange a follow-up appointment to remedy them. Â
It is important to note these issues as soon as possible to ensure they are quickly repaired, and a warranty can be applied. Take photos and document the issue.Â
Decor has a Limited Lifetime Warranty on our cabinet products. Check with your designer about their warranty and service guarantee to see what is covered and what is not.Â
All wood species have unique natural characteristics. Each tree will have some variation from one another in grain, heartwood, color, and other imperfections like pin knots and streaks. There are some characteristics that on the surface may look like a flaw, but are a hallmark of the species and a sign that you paid for real wood. Discuss with your designer what to expect from wood products and what would be considered a warranty issue.Â
Kitchens for a Better Life
Explore the Decor Cabinets blog

5 Quick Ways to Prepare Your Home for Guests
Quick Ways to Prepare Your Home for Guests The process to prepare your home for guests doesn’t have to be stressful. Say goodbye to

Best Degreaser for Kitchen Cabinets (That Won’t Damage Them)
The best degreaser for kitchen cabinets is mild dish soap mixed with warm water because it safely removes grease without damaging the cabinet finish.

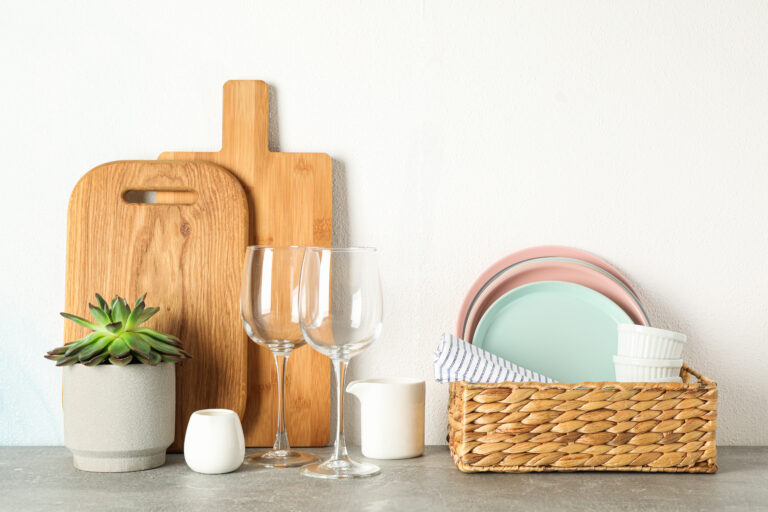
Summer Kitchen Decor Ideas That Feel Fresh and Easy
Summer kitchen decor ideas can help your kitchen feel brighter, more welcoming, and ready for the season. With just a few changes, you can