Clean kitchen cabinets are always a glamorous central feature in the kitchen, and when they get dirty, people notice. The majority of fingerprint marks, foodstuffs, and watermarks are common causes. And harder spots to clean may also build over time. Luckily, this simple guide to cleaning kitchen cabinetry will assist in dealing with any type of stains and other surfaces.
You probably scrub your kitchen countertops daily, if not hourly. Your cabinets will probably never receive this attention—but they should. They collect food residue and dander that’s stuck on cabinet surfaces. In addition to the germs that get collected in the kitchen, it can also be dangerous in the long run. Salmonella is easily found on drawer handles. Grime and old food particles also exist where food is stored. So, cleaning out your fridge regularly is also a good idea.
That being said, let’s go through some tips on how to clean kitchen cabinets. If done the right way you’ll avoid discoloration or damaging your cabinets.
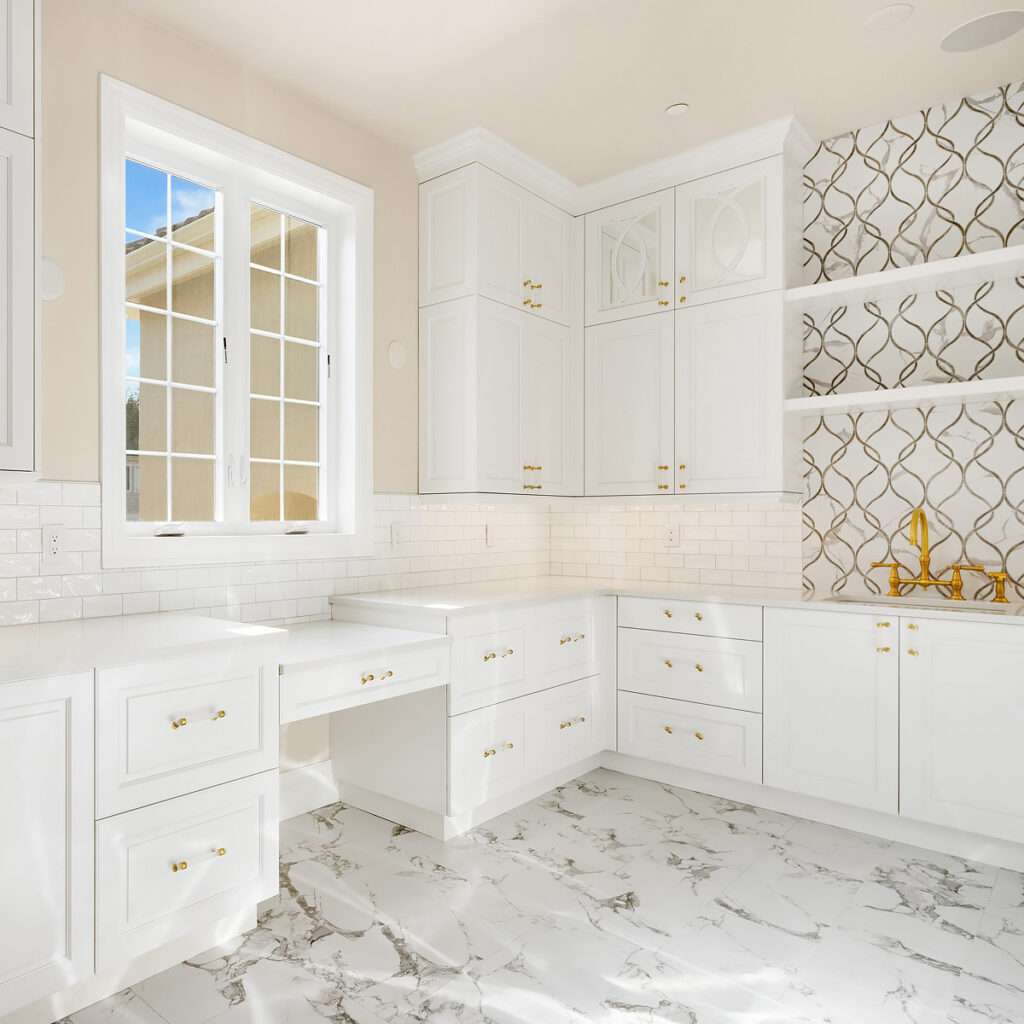
Eliminate Grease, Grime and Food Splatters from Your Kitchen Cabinets
There are three major areas to clean in the kitchen – your sink, stove, and countertops. This is where all the small droplets of cooking oil splotches and steam tend to settle. They are held up and absorb particles that result in a dull or dirty surface. Fortunately, cleaning kitchen cabinets is not difficult and does not require toxic or dangerous chemicals.
What Cleaner is Safe For Wood Cabinets?
There are many cleaners out there, and many of them are bad for every kitchen cabinet. Cabinet cleaning needs to be done with a solution that is mild and doesn’t damage any finishes on your cabinets. These include painted wood, high gloss finishes, and any laminate, among many others.
Make a mixture of white vinegar and water or dish soap and water. These mild cleaning solutions will help you deep clean wood cabinets daily without damaging the finish.
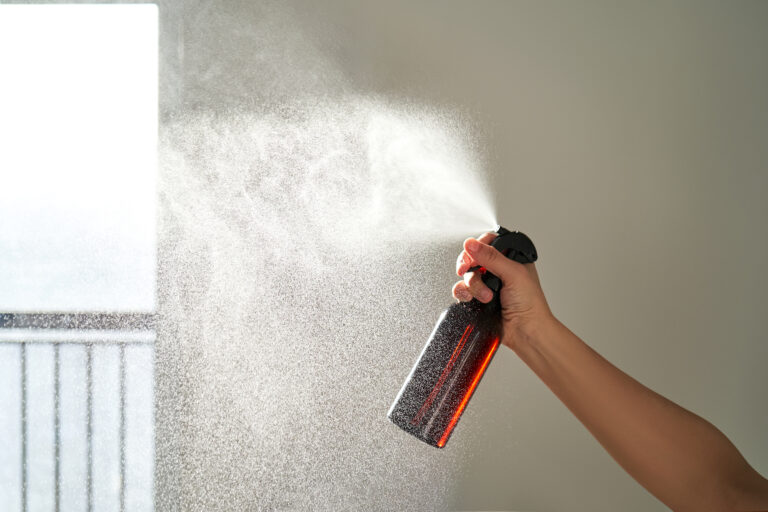
Mix 50/50 solution with white vinegar & hot water or dish soap and water. For the really tough stuff, use 1 part baking soda for every 2 parts water. Put the mixture into spray bottles. Spray the mist lightly on cabinets and let it sit for 1-2 minutes, then wash the surfaces with a soft towel.
If you have cabinets that are extra sensitive to moisture, spray your cleaning solution on the cloth instead of the cabinets directly to avoid any possible damage.
IMPORTANT: Too much moisture could damage your cabinets and could void your manufacturer’s warranty. When cleaning wood cabinets, be especially careful of this. To read more on this skip down to the “Don’t soak your cabinets” section.
How Often Should I Clean My Kitchen Cabinets?
Cupboards and the exterior should be cleaned each week. But each month, cabinets need a thorough cleaning. It sounds overwhelming but taking it one cabinet at a time should be easier.
Using the time of your dishwasher, you could use the opportunity to wash out the area where those dishes normally sit. Make a note to clean your plates and glasses while cleaning your kitchen cabinets.
Prepare Your Cleaning Solution
Almost all cabinets, such as wood, laminate, plastic, and painted cabinets, can have their surfaces cleaned using hot water or white vinegar mixed with hot water. It’s a simple and mild solution that helps remove food residues and grime from your cupboards.
Grease-cutting dish soap is a gentle cleaner, useful as an abrasive degreaser, removing even the hard build-up on the exterior. The cleaning solution may also be used to clean cabinets, but the best way of checking cleaners is in a hidden place to ensure the cleaning will not affect the finish of your cabinet. Make a quick reading of the instructions before use, and test at a hidden location.
Remove Thick Grease Buildup
Sometimes grease buildup on kitchen cabinets can be so thin it’s difficult to see. Use the soap solution and instructions mentioned before. You might need to repeat this several times, depending on how thick the grease layer is.
If the grease and grime you are trying to get rid of is thick, you may scrub it lightly with a mixture of baking soda and water, mixing them with one part baking soda and two parts warm water. Use a spray bottle to lightly mist the cleaning solution onto the kitchen cabinets and let the baking soda work its magic. Let it sit for one to two minutes, and then wipe the surface with a clean cloth.
Again, if you have cabinets that are extra sensitive to moisture, dampen your cloth instead of spraying directly onto the cabinets to avoid any possible damage. – Refer to the “Don’t soak your cabinets” section below.
Clean Glass or Mirror Surfaces
Clean the glass or mirror surfaces of your kitchen cabinets by spraying a commercial glass cleaner solvent onto a clean, soft cloth or microfiber cloth before rubbing it onto glass or mirrors.
Never spray glass directly to remove dirt and build-up on the glass. You could get some on your painted cabinets, and the paint could get discoloured, or the surface could get damaged. After the glass cleaning solvent has loosened all the dirt up, wipe cabinets dry with a paper towel or a dry microfiber cloth.
Empty Each Cabinet
Starting with the top cabinet, going down, emptying the contents, and removing any damaged shelves if needed. Emptying your kitchen cabinets will help with cleaning the inside of your cabinets more effectively. It’ll make it easy to clean things like large amounts of crumbs and see any damage that needs fixing.
Wipe Handles, Knobs and Pulls
When using metal hardware on wood cabinets, wash the surfaces of the wood and gently scrub the hardware with warm water in a 50/50 solution of vinegar and water. Take out cabinet hardware, if necessary, before cleaning to avoid getting the wood cabinets to bulge due to the wood soaking up too much moisture, and the finishes from bubbling or discoloration.
Work From the Top Down
Start with the top cabinets, then gradually descend from the inside out. Start with the interiors, the back wall, then the sides, then the shelves and drawers. Don’t forget your cabinet’s edges and corners. Spray cleaning solution on an old toothbrush and gently scrub if necessary.
Rinse With a Damp Cloth
Rinse your damp cloth in clean water, wring it out until it’s damp again, and wipe your kitchen cabinets down thoroughly, wiping off all the soap residue. This step is critical to prevent any wood kitchen cabinets from soaking up too much moisture or any finishes from starting to bubble or get discoloured. In short, wiping the cabinet surface will prevent water from damaging any surfaces.
Wipe Off the Cleaner with a Final Rinse
Wipe the cleaner off your kitchen cabinets with a clean, soft cloth dampened with warm water, then wipe them dry afterwards. Water left on kitchen cabinets too long or left dripping may cause discoloration and damage, especially if your cabinets are wooden. Wood kitchen cabinets tend to soak in moisture and bulge. This is something you want to avoid at all costs, so make sure to wipe them with a dry cloth or paper towel.
Don't Soak Your Cabinets
Too much moisture could corrode the cabinet paint off the cabinet surfaces or cause bulging of the wood or bubbling of the paint. When cleaning wood cabinets, be especially careful of this.
Clean every cabinet from top to bottom, and do not skip any trims that collect dirt and grime. Get into tough-to-reach places using a soft-bristled brush or an old soft toothbrush. You could add more cleaning solution on a washcloth if necessary but never let it drip or leave it to dry. Make sure to squeeze out excess water into the sink when needed.
Make sure not to leave any moisture sitting for too long. If you have 5-piece doors or melamine cabinets, then be extra careful as these are extra sensitive to moisture. That’s because the moisture can easily get behind the panel, running the risk of the cabinet doors swelling from the moisture.
Do Tackle Tight Spots with an Old, Soft Toothbrush
Occasionally cabinetry has ornamental or deep grooves, which are difficult to get to with a clean cloth. Use a toothbrush to scrub those difficult-to-get-to surfaces gently. Keep an eye on the corners of drawer knobs and handles. Depending on the style, they may also have some nooks and crannies that are hard to get to with a rag.
DON'T Let Water Enter the Hinges
Don’t let water or other moisture get into the hinges of your kitchen cabinets. The last thing you want is rusty hardware in your kitchen. To clean the hinges, simply use a dry clean microfiber cloth to clean out dirt or debris. If you find areas with some residue, spray some cleaning solution on your cloth and wipe it off lightly, then wipe it dry using the dry microfiber cloth.
Check for Damages
After you’re done with cabinet cleaning, whether you used the vinegar mixture, the soap cleaning solution, or baking soda for those really greasy cabinets, checking for damages at the end is still a strong recommendation. Check for damages in your entire kitchen, from the cabinet door to the inside of the kitchen cabinet to the countertop. Also, check for damages in your sink and your appliances.
Fill Your Cabinets Back Up
Before refilling shelves and drawers, inspect the cookware, dishes, food packages, etc., to ensure those items aren’t dusty or dirty. Even if everything looks pristine, giving the contents a swipe with a clean cloth will make it worthy of returning to your sparkling clean cabinets.
Now it’s time to fill them up with everything organized and in its place.
Final Thoughts
Kitchen cabinets get dirty quite fast. You spill and spatter everything from cake batter to olive oil to the grease from cooking. Your 8-year-old help you make a fruit smoothie and turns on the blender before you are able to put the lid on it, sending the smashed strawberries and banana flying across the room.
Following this guide will help you avoid the buildup of dirt, grease and grime in the kitchen, and with this guide, cleaning your kitchen should be a cinch.


